Introduction
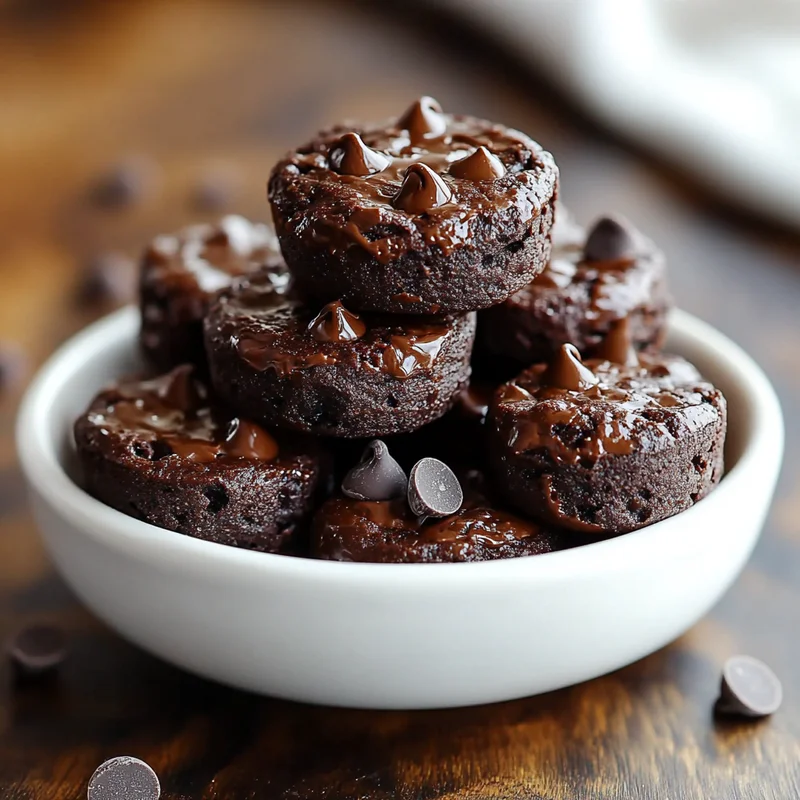
Hey there, friend! Ever have those days where you just need a little something sweet, something that feels like a treat, but you also want it to be good for you? Maybe you’re hitting that afternoon slump, just finished a workout, or honestly, you just deserve a delicious bite without the guilt trip. I get it! I’ve been there so many times. That’s why I absolutely love these Protein Brownie Bites. They are seriously a game-changer!
What makes them so magical? Well, for starters, they require just four simple ingredients you might already have hanging out in your pantry. Plus, they’re completely no-bake! Yep, no oven needed. You just mix, roll, and chill. They taste surprisingly like a rich brownie, but they’re packed with wholesome goodness from bananas and protein powder. Whip up a batch in minutes and keep them in the fridge for whenever that craving hits. Trust me, these little bites are about to become your new favorite go-to snack or healthy dessert!
Why You’ll Love This Recipe
- Fast: Seriously, you can make these in under 15 minutes!
- Easy: No complicated steps, just mix and roll. Perfect for beginners or busy days.
- Giftable: They look cute and homemade – perfect for sharing (if you can resist eating them all!).
- Crowd-pleasing: Everyone, kids and adults alike, loves a tasty bite-sized treat that feels indulgent but isn’t.

Ingredients
Gather your simple goodies! Here’s what you’ll need:
- 3 very ripe bananas: The star of the show! You want these bananas to be spotty, even brown. This is key for sweetness and moisture.
- ½ cup smooth peanut butter or almond butter: Adds healthy fats, binds everything together, and gives that classic flavor combo with banana. Use your favorite, creamy works best here.
- ½ cup vanilla or chocolate protein powder: About two standard scoops. This is where the protein boost comes from! Chocolate powder leans more brownie, while vanilla is a great base. Use one you like the taste of, as its flavor will come through.
- ¼ cup unsweetened cocoa powder: Brings that deep, rich chocolatey flavor without added sugar.
- Mini chocolate chips (optional): Because who doesn’t love extra chocolate? Mini ones distribute nicely throughout the bites.
How to Make It
Let’s get mixing! It’s super easy, I promise.
Step 1: Mash the Bananas. Grab a medium bowl and your very ripe bananas. Use a fork to mash them until they are nice and smooth, with hardly any lumps. The riper they are, the easier this is!
Step 2: Mix in the Wet Ingredients. Add the peanut butter (or almond butter) to the mashed bananas. Stir until everything is well combined and you have a smooth, slightly sticky mixture.
Step 3: Add the Dry Ingredients. Now, scoop in the protein powder and the unsweetened cocoa powder. Stir vigorously. At first, it might look a little dry or crumbly, but keep mixing and folding until everything is fully incorporated. The mixture should start to come together into a thick, dough-like consistency. If it seems really dry (sometimes happens depending on the protein powder), you can add just a tiny splash of milk (dairy or non-dairy) or another teaspoon of peanut butter, but usually, the moisture from the bananas is enough.
Step 4: Fold in Chocolate Chips (Optional). If you’re adding mini chocolate chips, fold them in now until they’re evenly distributed throughout the “dough”.
Step 5: Roll into Bites. Scoop small amounts of the mixture (about a tablespoon or two) and roll them gently between your palms to form little balls or bites. They should hold their shape easily. If the mixture feels a bit sticky, you can lightly dampen your hands with water.
Step 6: Chill! Place the finished bites on a plate or a small baking sheet lined with parchment paper. Pop them in the refrigerator for at least 30 minutes to let them firm up. This makes them easier to handle and chew.
That’s it! You’re done. Grab one (or two!) and enjoy your healthy, homemade treat!
Substitutions & Additions
Want to mix things up? These bites are super forgiving and open to delicious variations!
- Nut Butter Swap: While peanut butter and almond butter work great, feel free to use cashew butter, sunflower seed butter (for nut allergies), or even a swirl of tahini (though tahini has a stronger flavor).
- Protein Powder Flavor: Experiment! Vanilla and chocolate are classics, but you could try a cookies and cream, peanut butter, or even an unflavored protein powder. Just be mindful of how the flavor pairs with banana and cocoa.
- Boost the Brownie: For an even deeper chocolate flavor, you could add a pinch of espresso powder to the mix.
- Mix-Ins: Instead of or in addition to chocolate chips, try chopped nuts, shredded coconut, dried cranberries, or a spoonful of chia seeds or flax seeds for extra nutrients.
- Sweetener: The ripe bananas provide most of the sweetness, but if you use less ripe bananas or prefer a sweeter bite, you could add a drizzle of maple syrup or honey to the mix, just be aware it might make the dough a little stickier.
Tips for Success
These are pretty foolproof, but here are a couple of things I’ve learned along the way:
- Banana Ripeness is Key: I can’t stress this enough! Those brown spots aren’t gross, they’re flavor and moisture gold! Under-ripe bananas won’t mash well and won’t provide enough sweetness or bind the ingredients properly.
- Consistency Check: The “dough” should be thick enough to roll into balls without falling apart, but not so dry it crumbles. If it’s too wet, try adding a tiny bit more cocoa powder or protein powder. If it’s too dry, add a tiny splash of milk or another lick of nut butter. Different protein powders absorb liquid differently.
- Prep Ahead: You can totally make the mixture a day ahead of time and store it covered in the fridge. When you’re ready, just scoop and roll!
How to Store It
These bites are best kept chilled!
Store your Protein Brownie Bites in an airtight container in the refrigerator. They should last for up to 5-7 days. If you want them to last longer, you can freeze them! Place the bites on a baking sheet in the freezer until solid, then transfer them to a freezer-safe bag or container. They should keep in the freezer for up to 2-3 months. Just let them thaw in the fridge for a bit before enjoying, or eat them straight from the freezer for a fudgy treat!
FAQs
Got questions? I’ve got answers!
Q: Are these bites vegan?
A: Yes, they can easily be vegan! Just make sure the protein powder you use is plant-based (like pea, rice, or soy protein) and that your mini chocolate chips are dairy-free.
Q: Are these bites gluten-free?
A: Yes, they are naturally gluten-free! All the main ingredients (bananas, nut butter, cocoa powder) are gluten-free. Just double-check that your protein powder is certified gluten-free if that’s a concern.
Q: Can I bake these instead of chilling?
A: This recipe is specifically designed as a no-bake treat. The ratios rely on the moisture and binding properties of the raw ingredients and chilling helps them firm up. Baking would likely result in a different, possibly dry, texture.
Q: Why do the bananas have to be so ripe?
A: Ripe bananas are sweeter and softer, making them easier to mash into a smooth consistency. They also provide the primary binding moisture for these no-bake bites. Less ripe bananas won’t work as well!
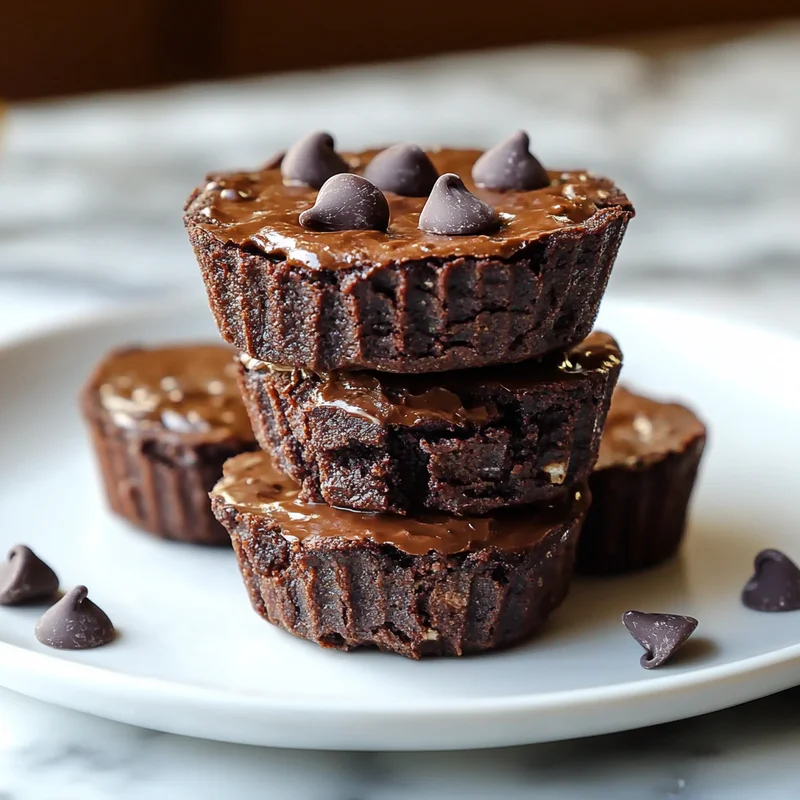
Easy 4-Ingredient No-Bake Protein Brownie Bites
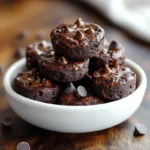
Ever need a quick sweet treat that’s also good for you? These Protein Brownie Bites are a game-changer! Requiring just four simple ingredients and absolutely no baking, you just mix, roll, and chill. They taste surprisingly like rich brownies but are packed with wholesome goodness from bananas and protein powder. Whip up a batch in minutes for a healthy snack or dessert.
- Prep Time: 15 minutes
- Total Time: 15 minutes
Ingredients
Main Ingredients
- 3 very ripe bananas (Spotty, even brown. Key for sweetness and moisture.)
- 0.5 cup smooth peanut butter or almond butter (Creamy works best.)
- 0.5 cup vanilla or chocolate protein powder (About two standard scoops. Use a flavor you like.)
- 0.25 cup unsweetened cocoa powder
Optional Additions
- 0 Mini chocolate chips (optional)
- 0 Milk (dairy or non-dairy) (Tiny splash, only if dough is too dry)
- 0 Extra nut butter (Tiny teaspoon, only if dough is too dry)
- 0 Water (To lightly dampen hands if mixture is sticky)
Instructions
- Grab a medium bowl and your very ripe bananas. Use a fork to mash them until they are nice and smooth, with hardly any lumps.
- Add the peanut butter (or almond butter) to the mashed bananas. Stir until everything is well combined and you have a smooth, slightly sticky mixture.
- Scoop in the protein powder and the unsweetened cocoa powder. Stir vigorously. Keep mixing and folding until everything is fully incorporated. The mixture should come together into a thick, dough-like consistency. If it seems really dry, you can add a tiny splash of milk or another teaspoon of peanut butter.
- If adding, fold in mini chocolate chips until evenly distributed.
- Scoop small amounts (about a tablespoon or two) and roll gently between your palms to form balls. If sticky, lightly dampen hands with water.
- Place the finished bites on a plate or a small baking sheet lined with parchment paper. Pop them in the refrigerator for at least 30 minutes to let them firm up.
Notes
Substitutions & Additions:
– Nut Butter Swap: Cashew butter, sunflower seed butter, or even tahini can be used.
– Protein Powder Flavor: Experiment with other flavors like cookies and cream, peanut butter, or unflavored.
– Boost the Brownie: Add a pinch of espresso powder for deeper chocolate.
– Mix-Ins: Try chopped nuts, shredded coconut, dried cranberries, chia seeds, or flax seeds.
– Sweetener: Add maple syrup or honey if using less ripe bananas or for a sweeter bite (may make dough stickier).
Tips for Success:
– Banana Ripeness is Key: Use very ripe, spotty bananas for proper mashing, sweetness, and binding.
– Consistency Check: Dough should be thick enough to roll but not crumbly. Adjust with extra cocoa/protein powder (if too wet) or milk/nut butter (if too dry).
– Prep Ahead: Mixture can be made a day in advance and stored in the fridge before rolling.
Storage:
– Store in an airtight container in the refrigerator for up to 5-7 days.
– For longer storage, freeze in a single layer on a baking sheet until solid, then transfer to a freezer-safe bag/container for up to 2-3 months. Thaw in the fridge or eat frozen.
FAQs:
– Vegan: Yes, if using plant-based protein powder and dairy-free chocolate chips.
– Gluten-Free: Yes, naturally gluten-free. Check protein powder certification if needed.
– Baking: Not recommended; this recipe is designed as no-bake for a specific texture.