Introduction
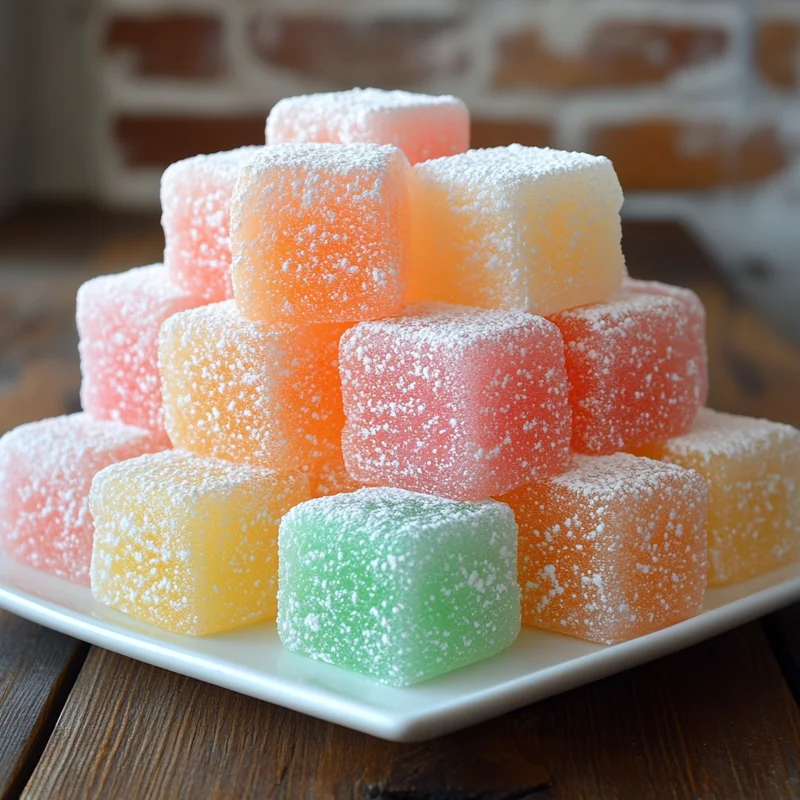
Oh friends, let me tell you about a little bite of pure joy that takes you right back to childhood! Remember those simple, sweet treats that didn’t require turning on the oven? This No-Bake Jello Candy Melts recipe is exactly that. It’s incredibly easy, requires minimal ingredients, and is so much fun to make (and eat!). Whether you’re whipping up a batch for a party, a quiet afternoon treat, or just because you need a little burst of color and sweetness, this recipe is a winner. Get ready to make some happy memories in your kitchen!
Why You’ll Love This Recipe
- Fast
- Easy
- Giftable
- Crowd-pleasing

Ingredients
Gather ’round, let’s talk about what you’ll need. It’s just a handful of simple things!
- 16 oz powdered sugar: This is our base, providing that classic sweet, smooth texture.
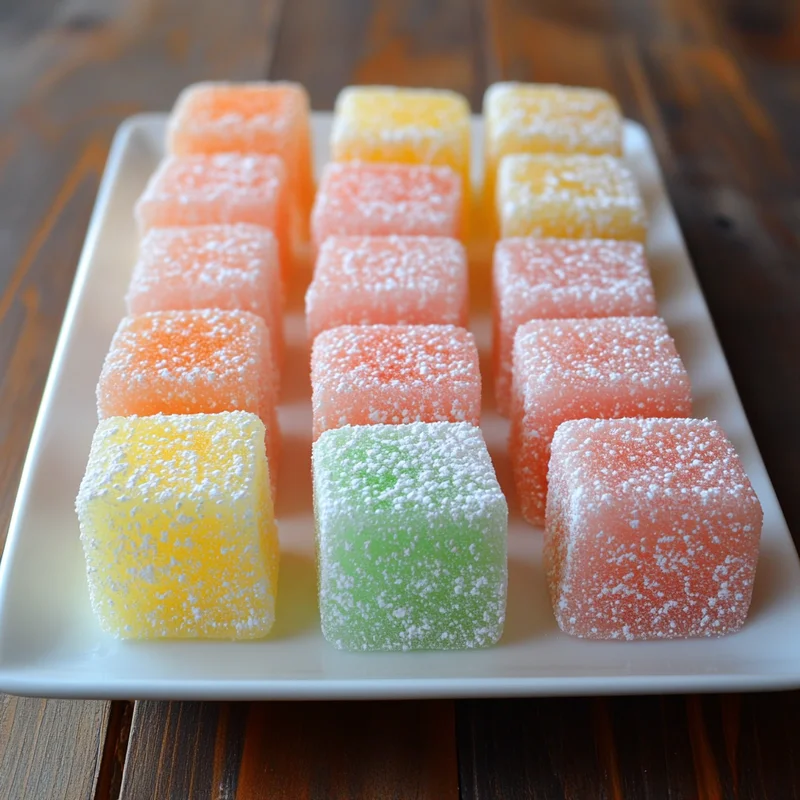
- 6 oz box jello (any flavor!): Here’s where the magic happens! Pick your favorite color and flavor – cherry red, lime green, orange zing, or maybe even a mix!
- 1/3 cup water: Just enough to bring everything together into a soft dough.
- 1 tbsp butter, softened: This adds a little richness and helps with the texture. Make sure it’s truly soft, not melted.
- Melted candy melts (for dipping): The final touch! You can use white, colored, or even chocolate-flavored candy melts.
How to Make It
Alright, let’s get our hands a little messy (in the best way!). Follow these simple steps:
First things first, grab a nice big bowl. You’re going to add your powdered sugar, the entire box of jello powder (dry!), the water, and your lovely softened butter into that bowl.
Now, this is where the fun begins. You’ll need to mix everything together. Start with a spoon or spatula, but honestly, the best tool here is often your own hands! Get in there and mix, knead, and combine until everything is thoroughly incorporated and you have a dough-like consistency. It should be soft and pliable, not too sticky.
Next up, it’s rolling time! Pinch off small pieces of the mixture and roll them between your palms to form little balls. Aim for about 1 inch in diameter, like little sweet marbles. This is a great step for kids to help with!
Time for the dip! Melt your candy melts according to the package instructions. Once melted and smooth, carefully dip each little candy ball into the melted candy melts, making sure it’s completely coated.
As you dip each ball, use a fork or a dipping tool to lift it out, letting any excess candy melt drip off. Then, place the coated balls onto a sheet of parchment paper or wax paper laid out on a baking sheet.
Once all your candy balls are dipped and on the paper, pop that baking sheet into the refrigerator. They need to chill for at least 1 hour, or until the candy coating is completely firm and set. And that’s it! You’ve made adorable, delicious no-bake candy melts!
Substitutions & Additions
Want to get creative? Here are a few ideas!
- Flavor Swap: The beauty of this recipe is you can use ANY jello flavor! Strawberry, lime, orange, lemon, grape… mix and match for colorful batches.
- Coating Variations: Instead of candy melts, you could use melted chocolate chips (milk, dark, or white!). You might need to add a tiny bit of shortening or coconut oil to thin the chocolate slightly for dipping.
- Sprinkle Fun: Add sprinkles immediately after dipping each candy ball, before the coating sets.
- Extract Boost: Add a tiny splash (like 1/4 teaspoon) of vanilla, almond, or even a complementary fruit extract to the dough mixture for an extra layer of flavor.
- Crunchy Bits: For a little texture, you could try mixing in some finely chopped nuts or desiccated coconut into the dough before rolling.
Tips for Success
Making these is super straightforward, but a couple of pointers can make it even smoother:
- Softened Butter is Key: Make sure your butter is truly soft, not melted. This helps it incorporate smoothly into the dough.
- Dough Consistency: The dough should be like playdough – soft and easy to roll, but not sticky. If it feels too dry, add a few drops of water at a time. If it’s too wet, add a tiny bit more powdered sugar.
- Melting Candy Melts: Follow the package directions carefully! Overheating can cause them to seize up. Melting gently in the microwave (in short intervals) or over a double boiler works best.
- Chill Time Matters: Don’t skip the refrigeration step! This is crucial for the candy coating to set properly and give you that satisfying firm bite.
- Prep Ahead: You can make the dough mixture a day ahead of time and store it in an airtight container in the fridge. Let it sit at room temperature for a bit to soften before rolling and dipping.
How to Store It
Once your candy melts are firm, you can transfer them to an airtight container. You can store them at room temperature for about a week, but I like to keep them in the refrigerator, especially if it’s warm, as this helps the coating stay firm. They’ll last a couple of weeks in the fridge, if they even stick around that long!
FAQs
Here are a couple of questions people often ask:
Q: Can I use sugar-free Jello?
A: I haven’t personally tested this, but the chemistry of sugar-free Jello is different. The regular Jello powder contributes significantly to the texture and sweetness here, so I’d recommend sticking to regular for best results in this specific recipe.
Q: What are candy melts? Are they chocolate?
A: Candy melts (often called confectionery coating) are a product made from vegetable oil and sugar. They are designed to melt smoothly and harden quickly, making them perfect for dipping. While they taste sweet, they are not technically chocolate, which is made from cocoa butter.
Q: How long do they take to set up in the fridge?
A: They usually firm up within an hour in the refrigerator, but I often give them a little longer just to be sure they’re perfectly set before handling or stacking them.
Sweet & Simple No-Bake Jello Candy Melts

Oh friends, let me tell you about a little bite of pure joy that takes you right back to childhood! Remember those simple, sweet treats that didn’t require turning on the oven? This No-Bake Jello Candy Melts recipe is exactly that. It’s incredibly easy, requires minimal ingredients, and is so much fun to make (and eat!). Whether you’re whipping up a batch for a party, a quiet afternoon treat, or just because you need a little burst of color and sweetness, this recipe is a winner. Get ready to make some happy memories in your kitchen!
- Prep Time: 20 minutes
- Total Time: 20 minutes
Ingredients
Main Ingredients
- 16 oz powdered sugar (This is our base, providing that classic sweet, smooth texture.)
- 6 oz box jello ((any flavor!) Here’s where the magic happens! Pick your favorite color and flavor – cherry red, lime green, orange zing, or maybe even a mix!)
- 0.33 cup water (Just enough to bring everything together into a soft dough.)
- 1 tbsp butter (softened: This adds a little richness and helps with the texture. Make sure it’s truly soft, not melted.)
- Melted candy melts ((for dipping) The final touch! You can use white, colored, or even chocolate-flavored candy melts.)
Instructions
- First things first, grab a nice big bowl. You’re going to add your powdered sugar, the entire box of jello powder (dry!), the water, and your lovely softened butter into that bowl.
- Now, this is where the fun begins. You’ll need to mix everything together. Start with a spoon or spatula, but honestly, the best tool here is often your own hands! Get in there and mix, knead, and combine until everything is thoroughly incorporated and you have a dough-like consistency. It should be soft and pliable, not too sticky.
- Next up, it’s rolling time! Pinch off small pieces of the mixture and roll them between your palms to form little balls. Aim for about 1 inch in diameter, like little sweet marbles. This is a great step for kids to help with!
- Time for the dip! Melt your candy melts according to the package instructions. Once melted and smooth, carefully dip each little candy ball into the melted candy melts, making sure it’s completely coated.
- As you dip each ball, use a fork or a dipping tool to lift it out, letting any excess candy melt drip off. Then, place the coated balls onto a sheet of parchment paper or wax paper laid out on a baking sheet.
- Once all your candy balls are dipped and on the paper, pop that baking sheet into the refrigerator. They need to chill for at least 1 hour, or until the candy coating is completely firm and set.
- And that’s it! You’ve made adorable, delicious no-bake candy melts!
Notes
Once your candy melts are firm, you can transfer them to an airtight container. You can store them at room temperature for about a week, but I like to keep them in the refrigerator, especially if it’s warm, as this helps the coating stay firm. They’ll last a couple of weeks in the fridge, if they even stick around that long!