
Introduction
Oh, the smell of freshly baked scones! It takes me right back to lazy weekend mornings, a steaming mug of coffee in hand, and that first glorious bite of something warm, sweet, and utterly delightful. If you’ve ever thought scones were a bit fussy or time-consuming, get ready to have your mind changed! These Easy Chocolate Chip Scones are an absolute game-changer. They’re incredibly simple to whip up, perfect for beginners, and taste like they came straight from a charming bakery. Let’s get baking!
Why You’ll Love This Recipe
- Fast: From mixing bowl to oven in under 20 minutes!
- Easy: Minimal steps, no fancy techniques required.
- Giftable: Package them up for a thoughtful homemade treat.
- Crowd-pleasing: Who can resist warm, gooey chocolate chips?

Ingredients
Gather your goodies! These ingredients are pretty standard pantry staples, making these scones super accessible.
- 2 1/2 cups all-purpose flour: The foundation of our lovely scones.
- 1/4 cup granulated sugar: For just a touch of sweetness.
- 1/4 cup packed light brown sugar: Adds a lovely depth of flavor and a touch of chewiness.
- 1 tablespoon baking powder: Our magic ingredient for that perfect fluffy lift.
- 1/2 teaspoon kosher salt: Balances out the sweetness and enhances all the flavors.
- 6 tablespoons cold unsalted butter, cut into small pieces: The secret to flaky scones! Make sure it’s nice and cold.
- 1 1/4 cups semi-sweet or bittersweet chocolate chips: Your main event! Use your favorite kind.
- 1/2 cup cold heavy cream: Adds richness and moisture.
- 1 large egg: Helps bind everything together.
- 2 teaspoons vanilla extract: For that classic warm, comforting aroma and taste.
- 2 tablespoons coarse sugar (optional): For a little sparkle and crunch on top. Totally worth it!
How to Make It
Alright, let’s get our hands a little floury! It’s going to be fun.
- Preheat and Prep: First things first, preheat your oven to 400°F (200°C). This ensures they bake up beautifully. Then, line a baking sheet with parchment paper. This is my little trick to avoid any sticking disasters and makes cleanup a breeze!
- Dry Ingredients Unite: Grab a large bowl. Whisk together your flour, granulated sugar, brown sugar, baking powder, and salt. Give them a good swirl so everything is nicely combined.
- Butter Me Up: Now, add those cold butter pieces to the dry ingredients. You can use a pastry blender (it’s like a whisk with blunt blades) or, my personal favorite, just use your fingertips! Rub the butter into the flour mixture until it looks like coarse crumbs. You want little pea-sized bits of butter to stay intact – this is what creates those lovely flaky layers.
- Chocolate Time: Stir in your glorious chocolate chips. Get them evenly distributed throughout the crumbly mixture.
- Wet Ingredients Whisked: In a separate, smaller bowl, whisk together the cold heavy cream, the large egg, and the vanilla extract. A little whisking is all you need here.
- Combine Gently: Pour the wet ingredients into the dry ingredients. Now, this is important: mix gently until just combined. Seriously, don’t overmix! Overmixing develops the gluten too much, which can make your scones tough. Stop as soon as you don’t see any dry flour. A few streaks of flour are totally okay.
- Shape Your Scones: Turn the dough out onto a lightly floured surface. I like to pat it gently with my hands rather than using a rolling pin. Shape it into a round disc, about 3/4-inch thick. It doesn’t need to be perfect – rustic charm is part of the appeal!
- Slice and Sparkle: Using a knife or a bench scraper, cut the disc into 8 wedges, like you’re cutting a pizza. If you’re feeling fancy (and I often am!), sprinkle the tops with that optional coarse sugar for a little extra crunch and sparkle.
- Bake to Perfection: Carefully place the wedges onto your prepared baking sheet. Bake for about 15-20 minutes, or until they’re golden brown and cooked through. You’ll know they’re ready when a toothpick inserted into the center comes out clean (but be careful not to hit a chocolate chip!).
- Cool and Enjoy: Let the scones cool on the baking sheet for a few minutes before transferring them to a wire rack to cool slightly. They are best enjoyed warm, maybe with a little extra butter or a drizzle of cream!
Substitutions & Additions
Feeling creative? These scones are a fantastic canvas for your own delicious ideas!
- Chocolate Swap: White chocolate chips, milk chocolate chips, or even chopped chocolate bars work beautifully.
- Nutty Addition: Add about 1/2 cup of chopped walnuts or pecans along with the chocolate chips for a lovely crunch.
- Fruitful Fun: Dried cranberries or raspberries would be a delightful sweet-tart contrast to the chocolate.
- Citrus Zest: A tablespoon of orange or lemon zest added to the dry ingredients can brighten up the flavor profile wonderfully.
- Cream Alternative: If you don’t have heavy cream, you can try using half-and-half or even milk, but the scones might be slightly less rich.
Tips for Success
A few little tricks to ensure your scones are absolutely perfect every time!
- Cold is Key: I cannot stress enough how important cold butter and cold cream are. They create steam in the oven, leading to that sought-after flaky texture.
- Don’t Overmix: This is probably the most common scone mistake. Mix the dough until it just comes together. A shaggy dough is a happy dough!
- Handle Gently: Treat the dough with kindness. Overworking it will result in tough scones.
- Prep Ahead: You can cut the butter into the dry ingredients ahead of time and store it in the fridge. Then, just add the wet ingredients and bake when you’re ready!
How to Store It
If, by some miracle, you have leftover scones, here’s how to keep them fresh.
Once cooled completely, store your scones in an airtight container or a resealable bag at room temperature for up to 2 days. For longer storage, you can freeze them for up to 2-3 months. Just pop them in a freezer-safe bag. To reheat, warm them gently in a low oven (around 300°F/150°C) for a few minutes until they’re toasty and delicious again.
FAQs
- Q: Can I use a food processor to mix the dough?
- A: Yes! You can pulse the dry ingredients and butter until crumbly. Then, add the wet ingredients and pulse a few more times until just combined. Be very careful not to over-process!
- Q: My scones came out flat. What did I do wrong?
- A: This is usually due to not using cold butter or overmixing the dough. Ensure your butter is very cold and mix the wet and dry ingredients only until they are just combined.
- Q: How do I make sure the chocolate chips don’t all sink to the bottom?
- A: Coating the chocolate chips with a little bit of the flour mixture before adding them to the dough can help them stay suspended. Also, make sure your dough isn’t too wet!
- Q: Can I freeze the unbaked scone dough?
- A: Absolutely! Shape the dough, cut it into wedges, and place them on a baking sheet in the freezer until firm. Then, transfer them to a freezer-safe container or bag. Bake from frozen, adding a few extra minutes to the baking time.
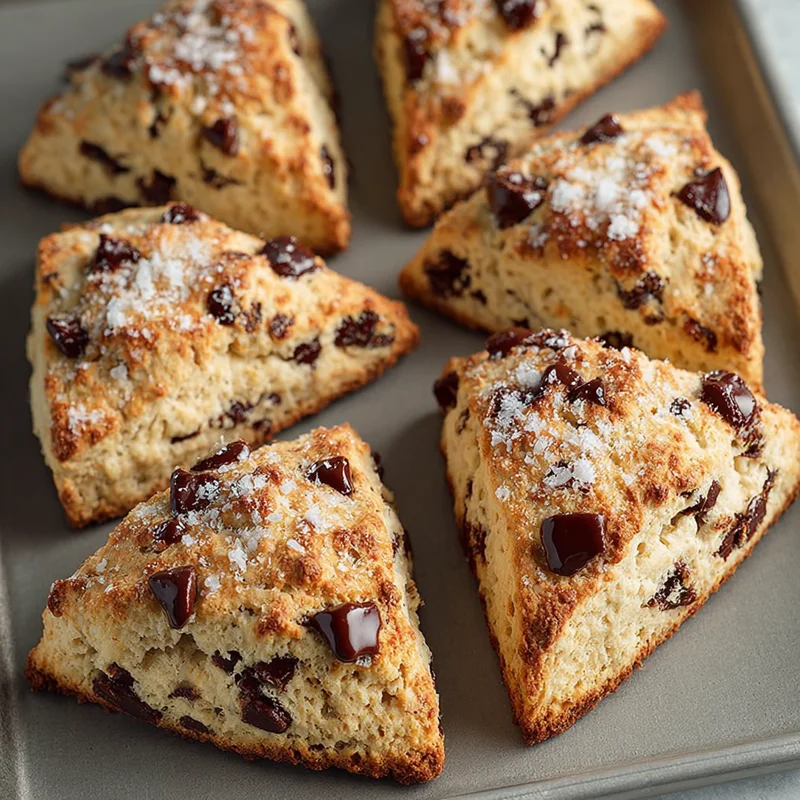
Easy Chocolate Chip Scones

Incredibly simple and delicious chocolate chip scones, perfect for beginners and guaranteed to be a crowd-pleaser. Ready from mixing bowl to oven in under 20 minutes!
- Prep Time: 20 minutes
- Cook Time: 20 minutes
- Total Time: 40 minutes
- Yield: 8 scones
Ingredients
Main ingredients
- 2.5 cups all-purpose flour
- 0.25 cup granulated sugar
- 0.25 cup packed light brown sugar
- 1 tablespoon baking powder
- 0.5 teaspoon kosher salt
- 6 tablespoons cold unsalted butter (cut into small pieces)
- 1.25 cups semi-sweet or bittersweet chocolate chips
- 0.5 cup cold heavy cream
- 1 large egg
- 2 teaspoons vanilla extract
- 2 tablespoons coarse sugar (optional)
Instructions
- Preheat your oven to 400°F (200°C) and line a baking sheet with parchment paper.
- In a large bowl, whisk together flour, granulated sugar, brown sugar, baking powder, and salt.
- Add cold butter pieces to the dry ingredients and rub them in with your fingertips or a pastry blender until the mixture resembles coarse crumbs with pea-sized bits of butter.
- Stir in the chocolate chips.
- In a separate small bowl, whisk together cold heavy cream, egg, and vanilla extract.
- Pour the wet ingredients into the dry ingredients and mix gently until just combined. Do not overmix.
- Turn the dough out onto a lightly floured surface and gently pat it into a round disc, about 3/4-inch thick.
- Cut the disc into 8 wedges and sprinkle the tops with coarse sugar, if using.
- Place the wedges onto the prepared baking sheet and bake for 15-20 minutes, or until golden brown and cooked through.
- Let the scones cool on the baking sheet for a few minutes before transferring them to a wire rack to cool slightly. Enjoy warm.
Notes
These scones are best enjoyed warm. For storage, keep cooled scones in an airtight container at room temperature for up to 2 days, or freeze for up to 2-3 months.